How to Choose the Right Work Gloves & PPE: A Practical, Standards-Driven Guide
Choosing the right glove or PPE doesn’t have to be complicated—but it does have to be deliberate. The best programs aren’t built from catalogs or marketing claims. They’re built from real hazards, current standards, and what actually works on a shop floor.
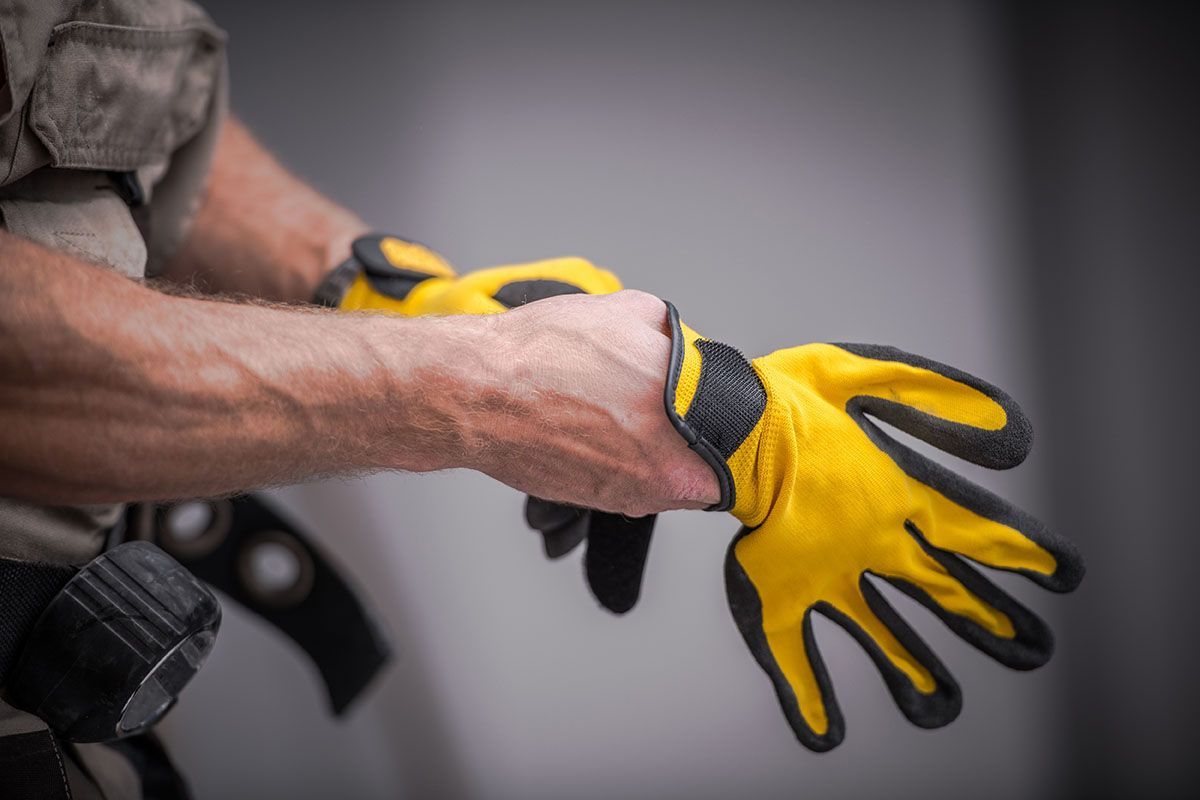
Here’s a no-nonsense, step-by-step approach to selecting hand protection that holds up in the real world.
1. Start with a Task-by-Task Hazard Scan
Begin by listing every task performed and identifying the actual hazards to hands, including:
- Cuts and punctures
- Abrasion and impact
- Chemicals and solvents
- Heat and cold
- Electricity or ESD
- Bio or food contact
OSHA’s requirement is simple: if a hazard exists, hands must be protected. Glove and PPE selection must be driven by the hazard—not by convenience or catalog descriptions.
2. Map Hazards to the Correct Performance Standards
This step forms the backbone of proper glove and PPE selection.
Mechanical Hazards (Cut, Abrasion, Puncture)
- Use ANSI/ISEA 105:2024 for U.S. facilities (cut levels A1–A9, abrasion, puncture)
- EN 388 may appear on spec sheets as a European reference, but should be treated as a cross-check only
Impact (Back-of-Hand Protection)
- Reference ANSI/ISEA 138 Levels 1–3
- Level 3 provides the highest impact protection
Chemical Hazards
- Verify ASTM F739 permeation data (breakthrough time and rate)
- European equivalents include EN 16523-1 / EN 374
- Always match the exact chemical and exposure type (splash vs. immersion)
Heat Hazards
- Use ASTM F1060 for U.S. contact heat comparisons
- Use EN 407:2020 for radiant heat, molten splash, and broader thermal risks
Cold Exposure
- OSHA treats cold as a harmful temperature extreme under 1910.138
- Specify insulation, grip retention, and dexterity at operating temperatures
3. Convert Hazards into Target Specs
- Light assembly / minimal blade risk: Cut A2–A3, thin gauge, high dexterity
- Metal fabrication / press brake / sheet handling: Cut A4–A6, strong abrasion resistance, consider Impact Level 2
- Glass, stamping, scrap handling: Cut A7–A9, high puncture resistance, Impact Level 2–3
- Chemical or solvent immersion: Select materials by permeation data for exact chemicals; choose thickness and cuff length by exposure time
- Hot parts handling: Match ASTM F1060 level to surface temperature and dwell time; verify EN 407 radiant/molten ratings when applicable
- Cold storage or outdoor winter work: Insulated shells with coatings that remain grippy in cold conditions
4. Nail Fit, Dexterity & Grip
Injury rates drop when gloves actually get worn.
- Test at least two sizes around the worker’s measured hand
- Check finger length, palm width, and wrist closure
- Choose coatings by task:
- PU for finesse
- Smooth nitrile for oils
- Micropore or sandy nitrile for oily grip
- Latex for dry grip and abrasion
- PVC or neoprene for chemicals and wet environments
Always validate glove choices on the actual production line.
5. Validate in the Field
A short pilot program saves both money and injuries.
- Shortlist 2–3 gloves that meet target ratings
- Run a 1–2 week A/B trial per task
- Track near-misses, grip errors, discomfort, change-out rates, and worker feedback
Lock in the best-performing option and standardize SKUs, sizes, and training. OSHA’s selection duty is continuous—revisit choices if tasks or materials change.
6. Don’t Mix Rating Systems Blindly
An ANSI 105 Cut A6 is not the same as an EN 388 “E”. Different tests and scales apply.
For U.S. facilities, use ANSI standards as your anchor and treat EN ratings as supplemental references.
7. Chemical Selection: Where Mistakes Hurt Most
- Match permeation data to SDS-listed chemicals and exposure duration
- Prefer gloves with published ASTM F739 reports
- Ensure breakthrough time exceeds task duration with margin
- For mixed solvents, design for worst-case exposure or use multilayer laminates
8. Heat Selection: Look Beyond Contact Heat
- Use ASTM F1060 to match known contact temperatures
- Verify EN 407 radiant and molten splash ratings where applicable
- Contact heat ratings alone may be insufficient in high-energy processes
9. Impact Selection: Protect the Back of the Hand
- Specify ANSI/ISEA 138 where smash or pinch risks exist
- Choose Level 2–3 for heavy tools, rigging, and material handling
- Evaluate dorsal coverage of fingers and knuckles
10. Program Hygiene: Where Many PPE Programs Fail
- Stock full size ranges (XS–XXL)
- Train on donning/doffing, chemical limits, and replacement triggers
- Define replacement rules for damage, loss of grip, or time-based chemical exposure
- Document hazard rationale to stay aligned with OSHA 1910.138
Quick Glove & PPE Selection Summary
- Identify task and hazard(s)
- Set ANSI / ASTM / EN target levels
- Shortlist 2–3 compliant gloves
- Field-trial for grip, dexterity, comfort, and durability
- Standardize SKUs, sizes, training, and replacement rules
- Reassess when tasks or materials change
SOP Call-to-Action: “Ask a Stalwart representative to perform a hand protection and PPE audit in my facility.”
Conclusion: Standards First, Field-Test Always
The right glove or PPE choice isn’t about over-protecting or cutting costs—it’s about matching real hazards to verified performance standards and validating those choices where work actually happens.
When hazard identification, standards alignment, proper fit, and field testing work together, PPE stops being a checkbox exercise and starts preventing injuries. Build your program around reality, revisit it often, and treat glove selection as a living process—not a one-time purchase.
That’s how you protect hands, reduce incidents, and keep operations moving safely.